Lead customers to your brand with the special print of spot UV.
- Display at trade shows or conferences
- Highlight special discounts & promos with spot UV
- Elevate your design with a gloss or matte surface
- Available in a handy 4" x 6" Vertical or 5" x 5.5" Vertical sizes
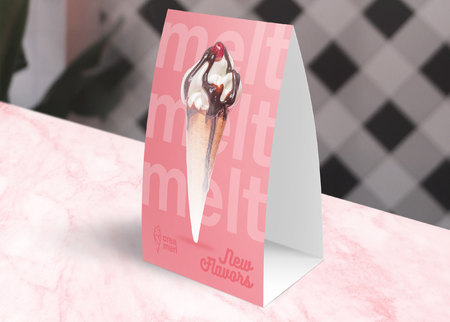
Spot UV Table Tent Printing Brings Your Brand to the Fore
Come prepared with an eye-catching display at the next trade show, conference, or public event you attend. Present spot UV table tents wherever attendees converge so they know where to locate your booth. Spot UV table tent printing is an easy, affordable way to promote your restaurant or store’s latest discounts and special offers.
3 Ways to Create a Table Tent Worth Displaying
Whether you’re planning a restaurant table tent or company introductions at a big event, a strong design gives customers the impression you’re an industry leader. Here are some ways you can combine the special features of our spot UV table tents:
- Highlight exclusive promos or crucial company information with attractive spot UV printing. Guide customers to important details and tell them how to act on a potential purchase.
- Complement the chic and shiny glow of spot UV with an elegant matte or reflective gloss background. The former adds to the luxurious look of your design, while the latter prints every detail in vivid color.
- Print a 4" x 6" or 5" x 5.5" size.
Have questions about your printing options? Drop a message or call our print experts to get the answers you need.
Spot UV Printing File Requirements
Keep in mind the following file requirements below as you create a design using our downloadable templates:
- The font size should be a minimum of 7 or 8 points. Avoid printing small text or fine lines in spot uv.
- Border and stroke must be more than 1.5 points.
- Images and artwork should be at least 300 DPI.
- All files should be in CMYK color mode.
- Make sure there is a 1/8" (0.125") bleed around the trim size.
- The safe zone should be 1/8" (0.125") inside the trim line.
How to Prepare Your Artwork for Spot UV Printing
- Create two layers that differentiate the areas printed in regular ink from the elements with spot UV printing.
- The regular CMYK layer shows which areas are printed in ink. The elements should show their actual colors and sizes on print.
- The spot uv printing layer only shows the elements that will appear in spot UV. The element(s) that will be printed in spot UV should have the same location as seen on the CMYK layer. Apply 100% K on the spot UV area and place the rest of the design in white.
The images below show the difference between the two layers:


- Alignment is crucial to the file preparation process. The CMYK and spot UV printing layers should both have the same size. Common elements must be in the same position on both layers.
