Your Guide to Our
3D Design Tool
Find out how you can use PrintPlace’s 3D design tool to create and preview custom box packaging. This comprehensive guide shows you the different features of this easy-to-use tool.
Maximizing the 3D Design Tool to Create Custom Boxes
Small business owners struggle with covering and operating almost every aspect of their business. Without the budget and resources to hire a professional marketing team, they may have to design their custom box packaging in their first venture. Many owners have little to no design experience, and so they have no idea where to begin with complicated editing programs like Adobe Photoshop or InDesign.
Thankfully, there are online 3D design tools from companies like PrintPlace. The tool loads on your browser and has a menu you can learn in minutes. Find out what other features it offers for creating unique packaging for your business.
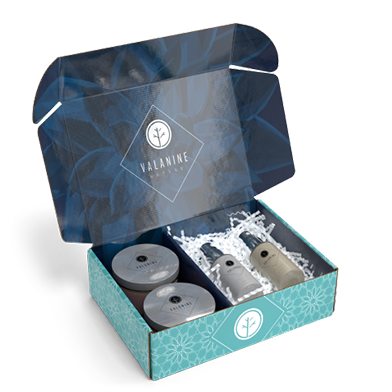
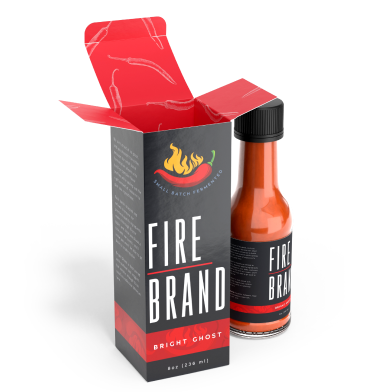
The design of your box depends on the type you order and personalize. Mailer boxes are generally used among e-commerce and subscription companies delivering multiple items. Product boxes carry individual items and are also displayed at stores, while shipping boxes have the largest capacity to deliver bulk quantities.
On the product page of your choice, you can select the interior dimensions, printed sides, material, and quantity of your package. Once you have sorted out the details, select “Design Your Box” at the bottom to access the PrintPlace 3D design tool. Here’s how to maximize the features available for your design.
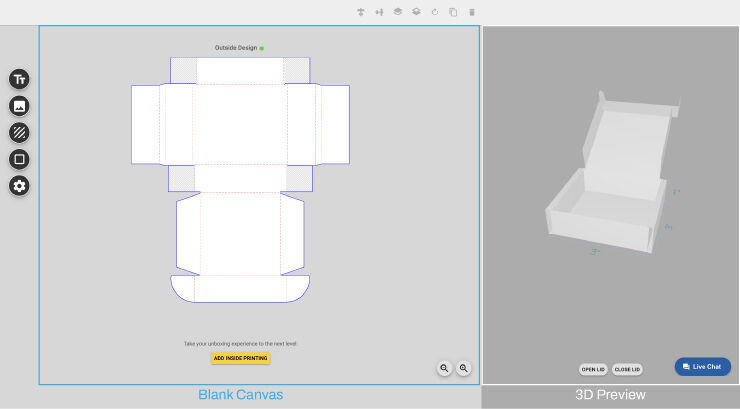
The PrintPlace custom boxes 3D design tool will show the flat layout and the different sides of the package. To begin creating the design, select the side of the box you want to start with. Beside the flat layout, you will see a real-time 3D preview of your design. The flat layout and 3D preview update the custom box’s look as you add, edit, or remove elements on the design.
After you’ve chosen an element to add or edit, the top menu will update to show the other changes you can make. For example, the swatches for shape colors will appear, or the fonts available will be listed after adding text. The rest of the top menu lets you make other changes, such as:
A pop-up window will confirm if you want to continue with the exact dimensions and materials. Select “Confirm Changes” if any are made to load the blank layout of the box interior. Like the box exterior, the flat design will show each section and preview it in 3D.
Thankfully, there are online 3D design tools from companies like PrintPlace. The tool loads on your browser and has a menu you can learn in minutes. Find out what other features it offers for creating unique packaging for your business.
Customize Your Box Packaging Using the Online Tool’s Five Features
The design of your box depends on the type you order and personalize. Mailer boxes are generally used among e-commerce and subscription companies delivering multiple items. Product boxes carry individual items and are also displayed at stores, while shipping boxes have the largest capacity to deliver bulk quantities.
On the product page of your choice, you can select the interior dimensions, printed sides, material, and quantity of your package. Once you have sorted out the details, select “Design Your Box” at the bottom to access the PrintPlace 3D design tool. Here’s how to maximize the features available for your design.
The blank canvas for the box’s exterior.
The PrintPlace custom boxes 3D design tool will show the flat layout and the different sides of the package. To begin creating the design, select the side of the box you want to start with. Beside the flat layout, you will see a real-time 3D preview of your design. The flat layout and 3D preview update the custom box’s look as you add, edit, or remove elements on the design.
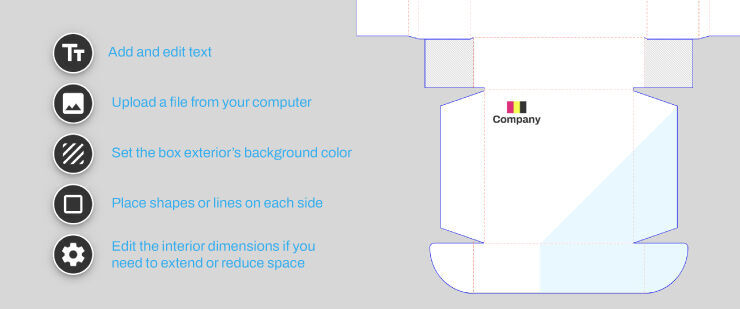
Use the menu on the left-hand side to access the following features:
- Add and edit text. Input your company name or a special message for your customer on the box exterior.
- Upload a file from your computer. Have a high-resolution file of your logo? You can upload it directly on the design tool and preview it on any side of the package.
- Set the box exterior’s background color. Choose from various swatches, or select a custom color from the shades on the picker.
- Place shapes or lines on each side. Add a horizontal or vertical line, a circle, or a square to emphasize your logo or text.
- Edit the interior dimensions if you need to extend or reduce space. Are the dimensions you indicated smaller or larger than estimated? Input a new length, width, and depth as your interior dimensions to adjust the design accordingly. You can also change the material, printed side, and production time on the pop-up window that appears.
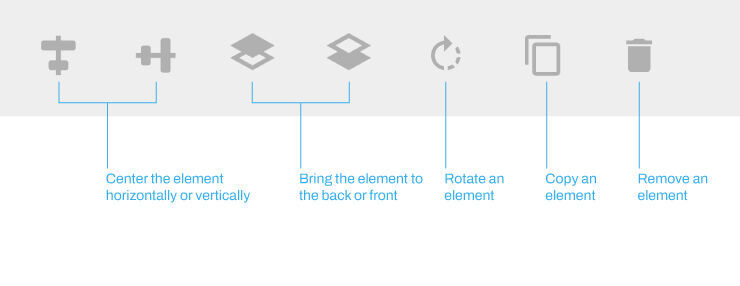
Go to the top menu to edit each uploaded or added element.
After you’ve chosen an element to add or edit, the top menu will update to show the other changes you can make. For example, the swatches for shape colors will appear, or the fonts available will be listed after adding text. The rest of the top menu lets you make other changes, such as:
- Center the element horizontally or vertically. Highlight branded parts such as your logo, name, or the customer’s name.
- Bring the object to the back or front. Placing two elements on one side? Make sure to choose the one a customer will immediately see and what will complement it as a background.
- Rotate the shape or image. Turn a shape upside down or put a different perspective on your artwork by rotating it at a specific angle.
- Copy an image or element and place it on another section. Want to reinforce your different brand elements, like a logo shape or line? Select the “Copy” button and move it to another side of the box.
- Remove the selected element. Not quite what you pictured? Click on the Trash Can icon to delete the selected or recently added feature.
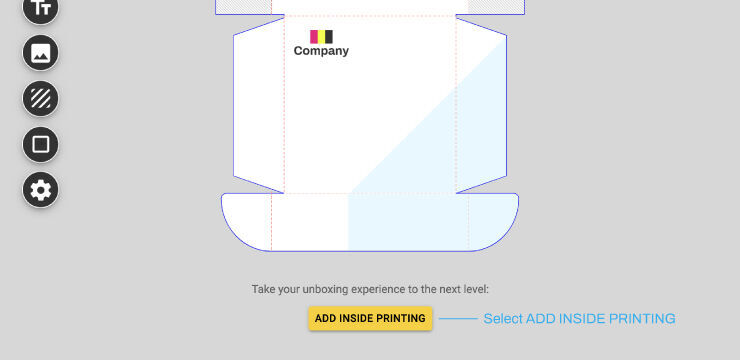
Select “Add Inside Printing” if you want to design the box interior.
A pop-up window will confirm if you want to continue with the exact dimensions and materials. Select “Confirm Changes” if any are made to load the blank layout of the box interior. Like the box exterior, the flat design will show each section and preview it in 3D.
You don’t need a degree in design or years of experience to maximize our custom boxes 3D design tool. The menu is straightforward and intuitive, while the blank canvas shows each change as it’s added. You also immediately see the package’s likely appearance once manufactured and delivered to your doorstep. Explore your creative side to see how your business’ box packaging can look today.
Shop for Custom Boxes
Find the perfect form to fit and present your items.