
Give us a call M-F (6am-10pm CT), Sat-Sun (8am-7pm CT)

Things You’ll Need
Step-by-Step Vinyl Lettering Installation
Step 1: Clean the Surface
Step 2: Position the Vinyl Lettering With the Hinge Technique
Step 3: Remove the Release Liner
Step 4: Apply the Lettering With a Squeegee
Step 5: Press the Lettering Firmly Into Place
Step 6: Remove the Transfer Tape
Step 7: Inspect the Finished Installation
How to Troubleshoot Common Vinyl Lettering Issues
Maintenance Checklist After Installation
Setting Up for Success
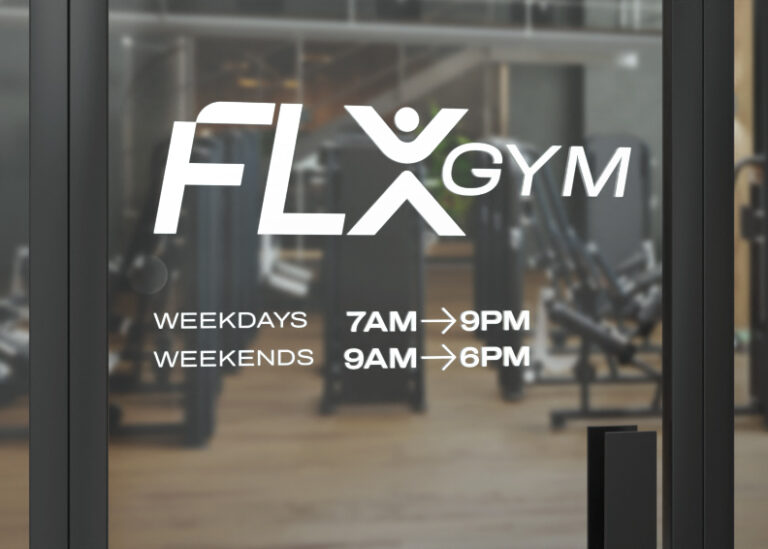
Using vinyl lettering is a cost-effective, versatile way to display business branding, promotional messages, and decorative graphics, making it ideal for storefronts, vehicles, windows, glass doors, walls, and other smooth surfaces.
Another key advantage is its quick and easy installation when paired with the right tools and application techniques.
This guide walks you through the essential tools, preparation steps, and installation best practices to help you achieve precise alignment, strong adhesion, and a smooth, professional-looking finish that lasts.
Before you begin, gather all the necessary tools and materials.
Follow these steps to achieve a smooth, professional finish while reducing the risk of misalignment, poor adhesion, bubbles, or wrinkles.
Clean the installation surface to remove dust, dirt, grease, and residue. Avoid using cleaners that leave a residue, as they can affect adhesion. Also, allow the surface to dry completely before applying the graphic.
Tip: Vinyl lettering adheres best to smooth surfaces, including glass, metal, painted walls, plastic, and vehicles. It may also work on sealed or painted wood, as long as the surface isn’t heavily textured.
Hold the decal against the surface and determine its final placement. Use a measuring tape and a bubble level to ensure proper alignment.
Once positioned, secure the top edge with masking tape to hold the lettering in place. By creating a “hinge,” you can lift and lower the graphic without losing alignment.
Carefully lift the vinyl lettering away from the surface and peel off at least half of the release liner (backing paper) from the back of the graphic. Make sure all lettering stays attached to the transfer tape.
Lower the lettering onto the surface and, using a felt-tip squeegee, apply firm, even pressure from the center outward. Continue squeegeeing downward while gradually pulling away the remaining half of the release liner.
Important Tip:
Wet installation is typically used when applying larger vinyl lettering or graphics. This method involves spraying a soapy water solution to create a temporary barrier between the adhesive and the surface, allowing you to slide and reposition the vinyl before it permanently bonds.
However, wet installation may cause small letters to shift or distort. As a general guideline, use the dry installation method for graphics under 12 inches.
Go over the entire graphic several times with the squeegee, paying special attention to small letters and edges. This extra step ensures the vinyl adheres fully to the surface.
Peel away the transfer tape slowly at a 45-degree angle. If any lettering begins to lift, press it back down with the squeegee and continue removing the tape gradually.
Inspect the graphic to ensure proper alignment, secure adhesion, and a smooth appearance. Eliminate any air bubbles, wrinkles, or lifted edges, and press down any loose areas before the adhesive fully sets.
Review the checklist below to ensure your installation was completed successfully.
Before Installation
Lettering inspected for damage
Surface cleaned and dried
Measurements confirmed
Placement marked
All tools prepared
During Installation
Decal positioned correctly
Hinge tape applied
Backing paper removed carefully
Vinyl applied smoothly
Air bubbles removed
After Installation
Transfer tape removed completely
Alignment verified
Edges secured properly
Surface cleaned if necessary
Final inspection completed
Most installation issues are easy to correct if caught early.
Air Bubbles. They are usually caused by trapped air or uneven squeegee pressure. Smooth bubbles toward the nearest edge with a squeegee or carefully puncture stubborn bubbles with a pin.
Wrinkles. This issue often occurs when you apply the vinyl too quickly or with too much tension. Gently lift and reapply the affected area before the adhesive fully bonds.
Crooked Lettering. This typically results from inaccurate positioning or insufficient alignment marks. Double-check measurements and alignment before applying.
Lettering Not Sticking. Poor adhesion is commonly caused by dirt, dust, moisture, or surface contamination. Clean the surface thoroughly and firmly reapply the lettering.
Transfer Tape Lifting the Vinyl. This usually happens when the graphic hasn’t fully adhered to the surface or wasn’t squeegeed firmly enough. Re-squeegee the lettering and remove the transfer tape slowly at a 45-degree angle.
While proper installation is essential for long-term performance, regular maintenance is equally important for preserving the appearance, adhesion, and lifespan of your vinyl lettering.
Inspect edges periodically for lifting
Clean surfaces using non-abrasive products
Remove dirt and debris regularly
Avoid harsh chemicals and solvents
Check for fading or damage over time
Installing vinyl lettering is simple with the right tools, preparation, and technique. Start with a clean surface, align the lettering using the hinge technique, apply it with steady pressure, and do a final inspection to achieve a clean, professional finish that looks great and lasts for years.
Looking to make your design stand out? PrintPlace offers custom vinyl lettering, window decals, and signage solutions to help you create eye-catching displays for storefronts, vehicles, events, and more. With proper installation and routine maintenance, high-quality materials can keep your message looking sharp, vibrant, and professional for the long haul.
PrintPlace’s mission is to provide customers with unparalleled printing services through the knowledge and expertise of its employees.