

A well-organized parking area begins with signs placed where drivers and pedestrians can easily see and use them. Parking Signs direct traffic, mark key spaces, and share safety information. In some cases, they can also support your brand by promoting offers and events.
But even the best sign will not work if it is installed the wrong way. This guide shows you how to choose the right locations and mounting hardware for installing promotional, wayfinding, and safety signs in retail parking areas so your messages are clear and easy to read.
Before Putting Up Parking Signs

If you are new to parking lot signage, there are important things to know before ordering or installing signs. Each type of sign and hardware should serve a specific purpose. You should also learn your parking area and find the best spots for your signs. Focusing on these three basics will help you choose the right options and set up your signs effectively.
1. Purpose
Begin by deciding why you need a Parking Sign. It could be that you want to guide drivers and pedestrians, share parking or safety rules, advertise a special offer, or show your branding. Knowing the purpose will help you determine what information your sign should show.
2. Location
Next, decide where each sign should go so people can see the information when needed. The location will also help you determine how many signs you need and what mounting hardware will keep them secure.
3. Type of Sign
Pick the sign’s format, material, and size based on its purpose and placement. Some signs work better in certain spots, so consider how far away people will be, whether the sign will be installed outdoors, what surfaces you can mount on, and how you will install it.
These three elements naturally work together—once you establish the purpose and location of your sign, you can narrow down sign type. The following guide compares common Parking Signs, where they work best, and how to install them.
| Type of Parking Sign | Common Uses | Best Locations | Recommended Fittings and Hardware |
|---|---|---|---|
| Post-Mounted Signs |
|
|
|
| A-frame Signs |
|
|
|
| Wall-Mounted Signs |
|
|
|
| Banners |
|
|
|
| Yard Signs |
|
|
|
Building a Comprehensive Parking System
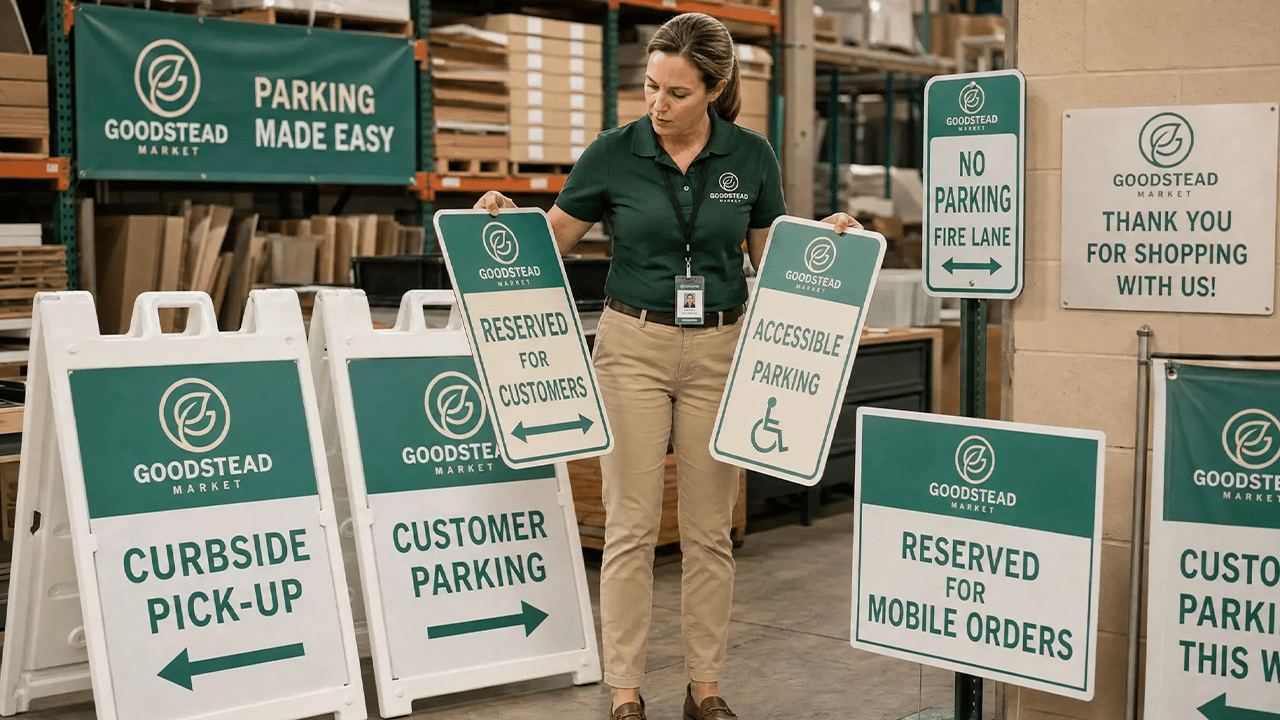
Parking Signs come in different shapes, sizes, and types, each with unique advantages in guiding traffic flow and proper parking procedures.
Instead of using each sign on its own, you can combine them into a well-organized parking signage system. Placing signs in the right spots helps drivers find their way, share parking details, guide customers to your store, and even highlight special offers. Let’s look at how you can set up these signs for your parking area.
How to Set Up Parking Yard Signs
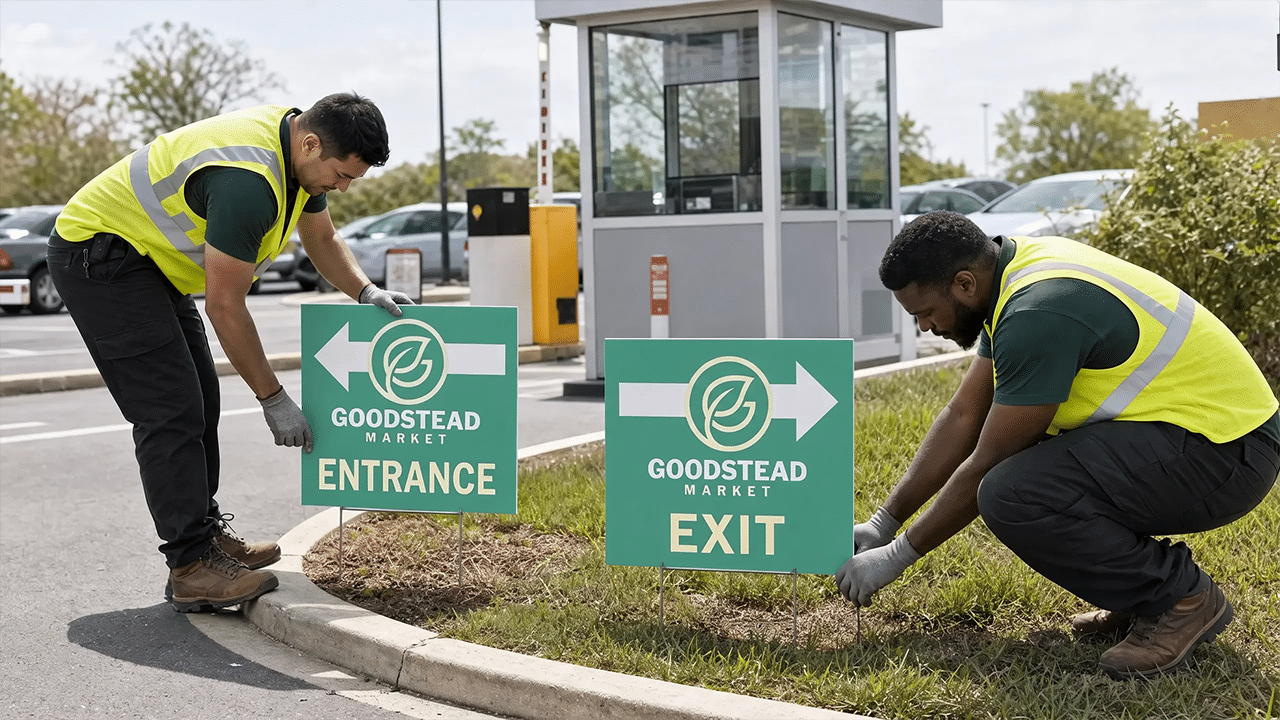
Place Yard Signs near parking lot entrances or exits by the road so people can see them right away.
- Choose the location. Pick a spot with soft ground near the parking entrance or exit. Make sure drivers can see the sign from the road, but don’t put it too close to traffic.
- Connect the sign with the stake. Line up the sign with the H-stake and gently push the wire prongs into the plastic flutes until the sign feels steady.
- Plant the yard sign properly. Push the H-stake firmly into the ground so it stands up straight. Hold the sign as you do to keep it from bending.
- Check the viewing angle. Turn the sign so drivers coming toward it can see it clearly. Make sure nothing like parked cars or bushes blocks the message.
How to Install Post-Mounted Parking Signs
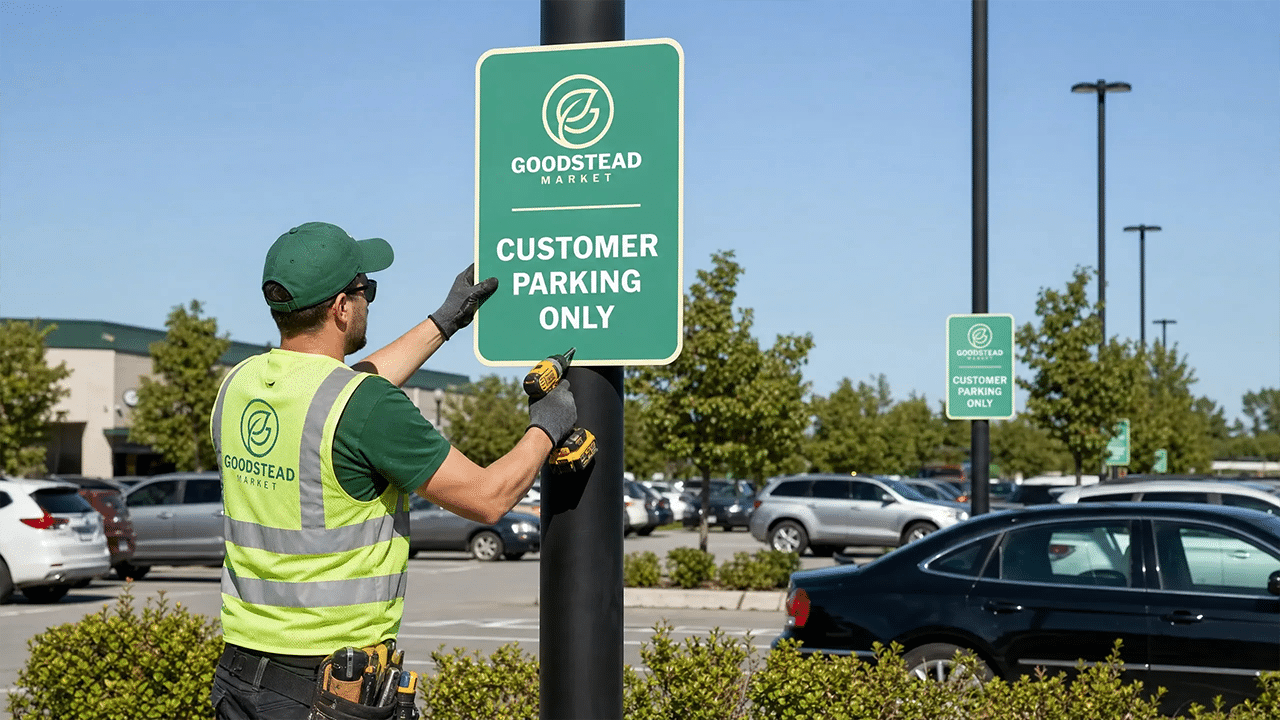
Post-mounted signs are a good choice for giving semi-permanent parking directions, restrictions, and rules.
- Inspect the area of installation. Check the posts and parking fixtures to find the best spots for signs. Place them near parking spaces, entrances, drive aisles, or anywhere drivers need directions or parking details.
- Attach the sign. Secure the sign to the lampposts with the right bolts, nuts, and mounting brackets. Make sure the panel stays straight and well supported.
- Check which way the sign faces. It should point toward oncoming traffic, and nothing like parked cars, plants, or other signs should block the message.
- Add more signs if needed. You can add matching directional or regulatory signs on extra posts in larger parking lots to keep the information consistent everywhere.
How to Install Wall-Mounted Parking Signs
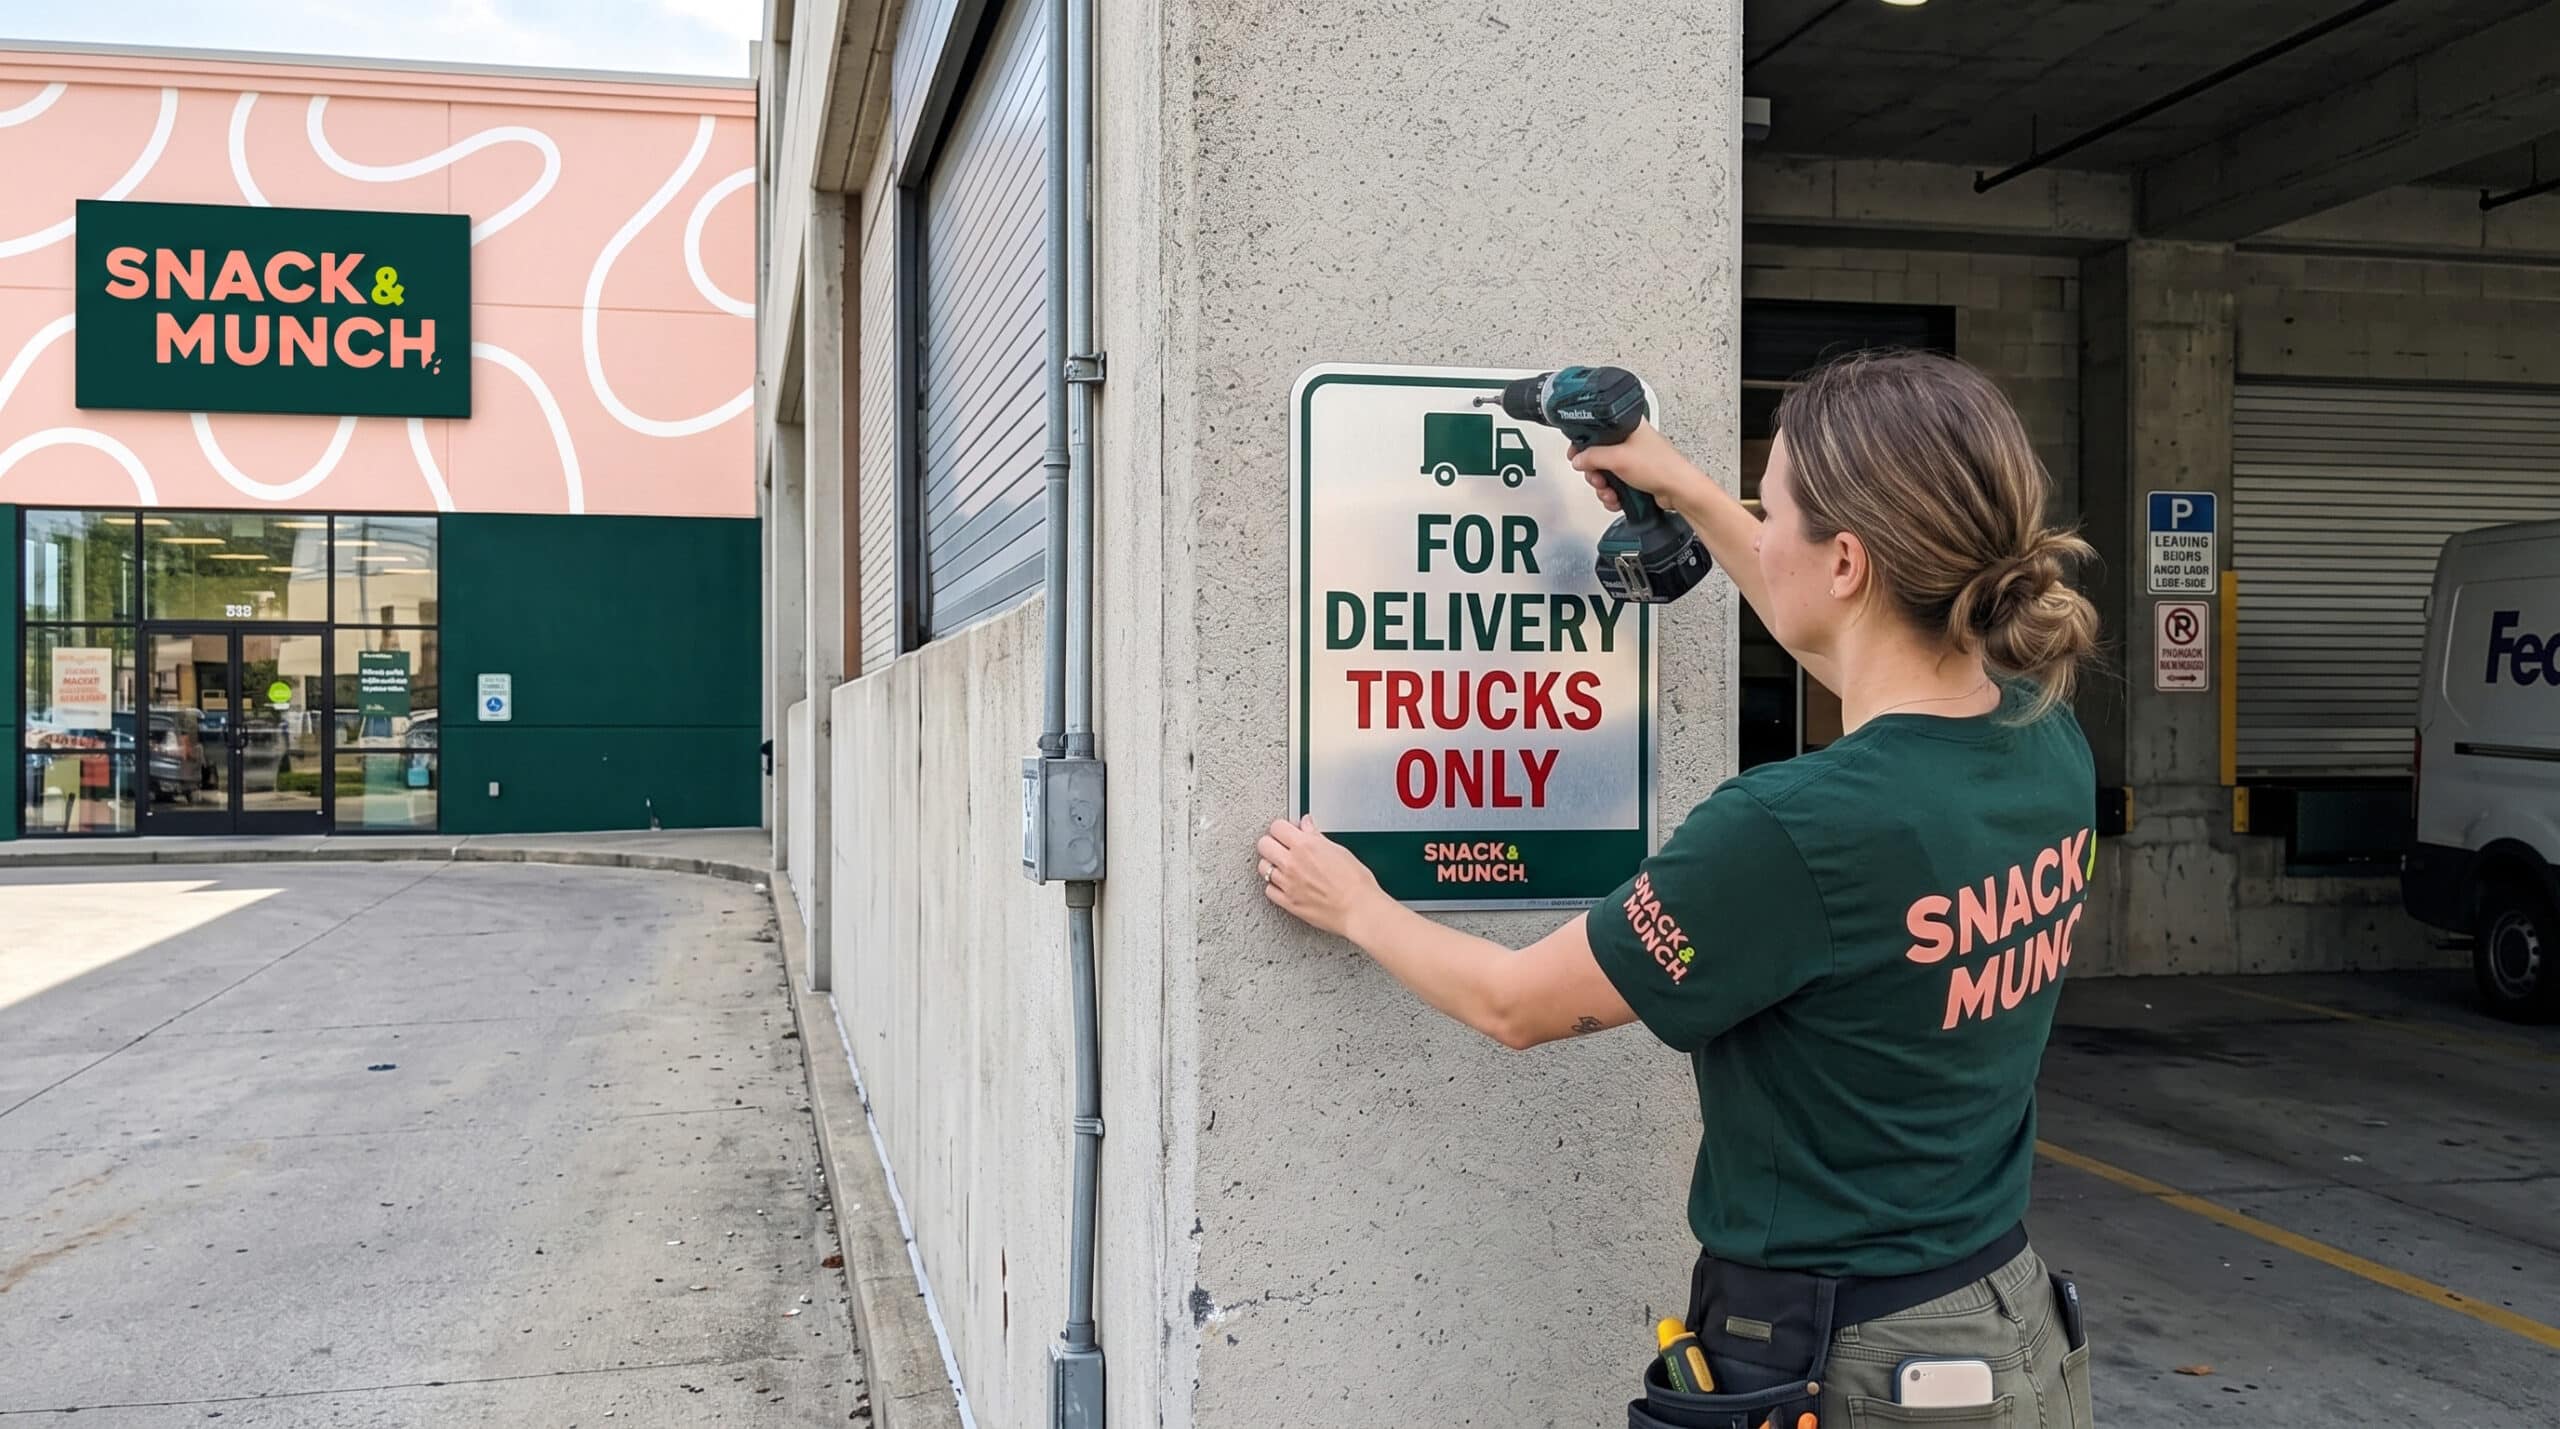
Wall-mounted signs are a good way to share extra parking instructions, fees, restrictions, or rules.
- Check the surface where you want to mount the sign. Choose a clean wall, column, parking structure, or payment booth that faces the parking area so drivers can see it clearly.
- Mark where you will attach the sign. Hold the sign level against the surface and mark the spots for the holes or brackets.
- Pick the right fixtures for your sign and surface. Always use the screws, bolts, anchors, or brackets that come with the sign. Drill the holes and attach the fixtures before mounting the sign.
- Mount the sign using the provided fixtures. Make sure it stays level and that drivers can easily see and read it from the parking area.
How to Install Parking Banners
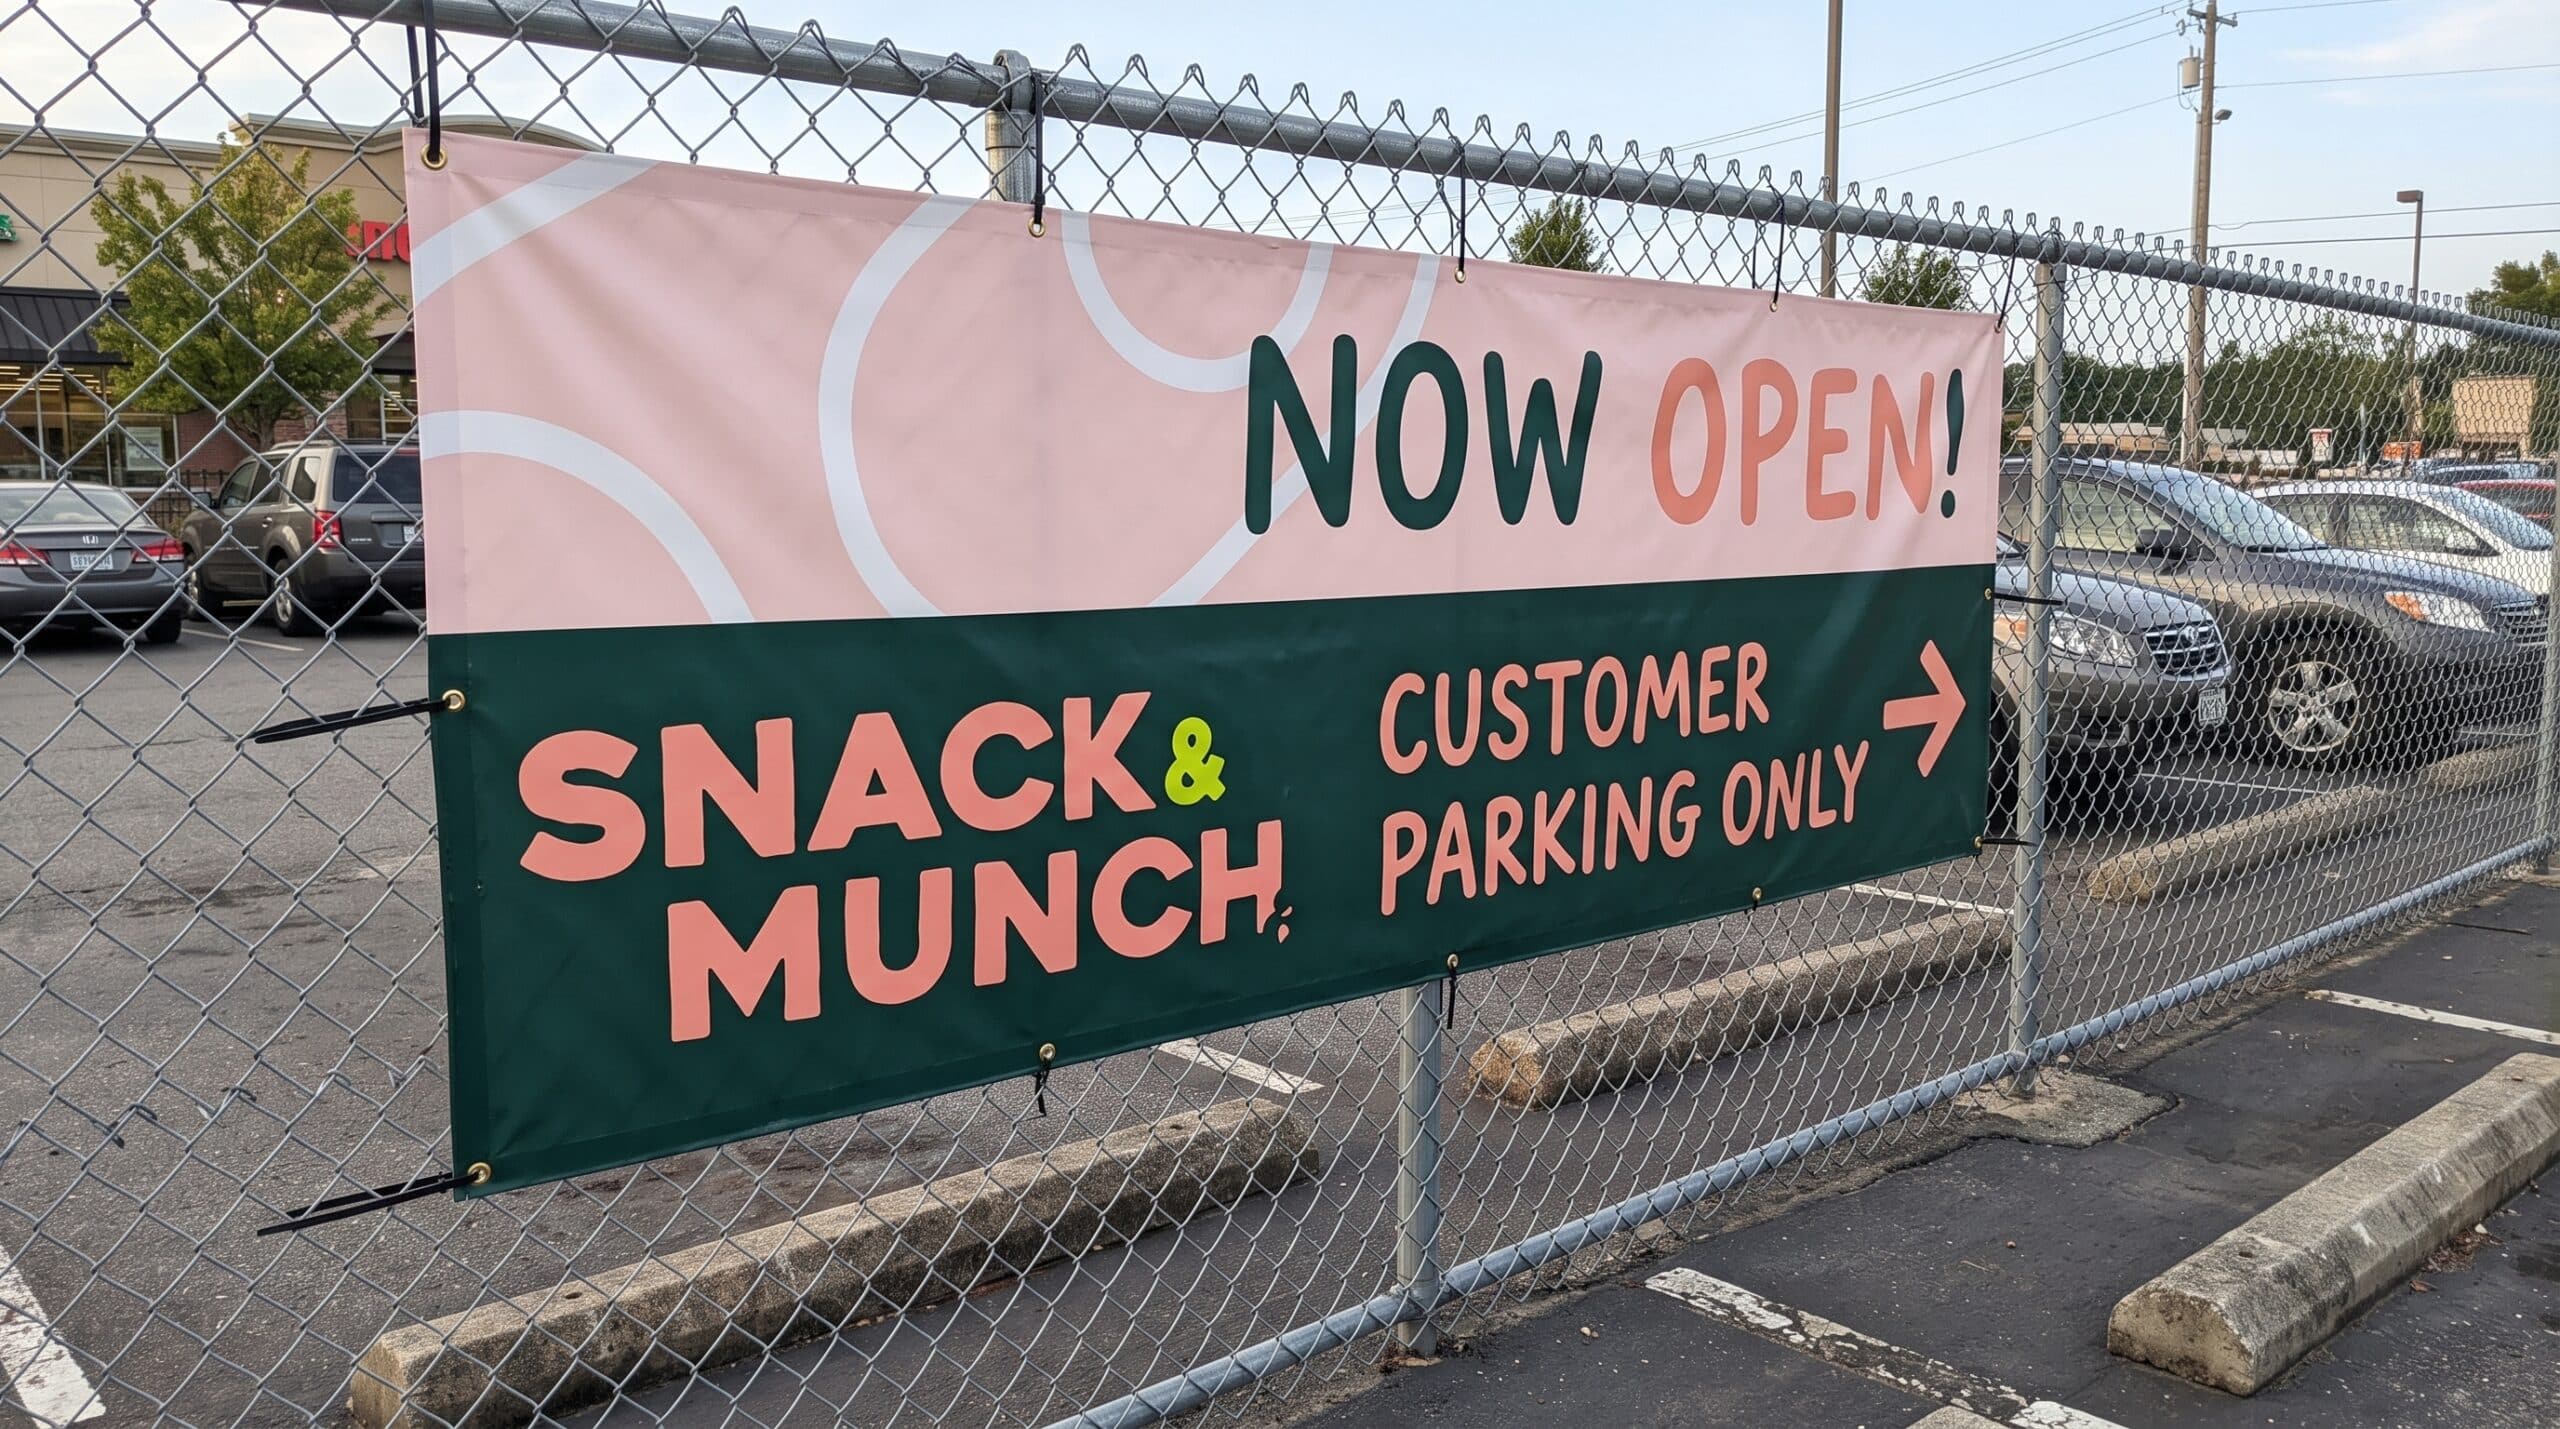
Reserve outdoor parking banners to promote retail sales, special offers, store openings, and events near parking areas.
- Pick a spot for your banner. Hang it on fences, outside walls, or along the edge of the parking lot where customers will notice it but make sure it does not block any parking signs.
- Select the right mounting tools. Attach the banner using its grommets with hooks, ropes, zip ties, or bungee cords, depending on where you are hanging it.
- Secure the banner evenly. Pull the banner tight and fasten it at every point. This keeps the graphic flat, taut, and easy to read.
- Check the weather. Most outdoor banners are made to last, but if you plan to reuse them for different time periods, it’s best to take them down and store them when the weather gets harsher.
How to Display Parking A-Frames
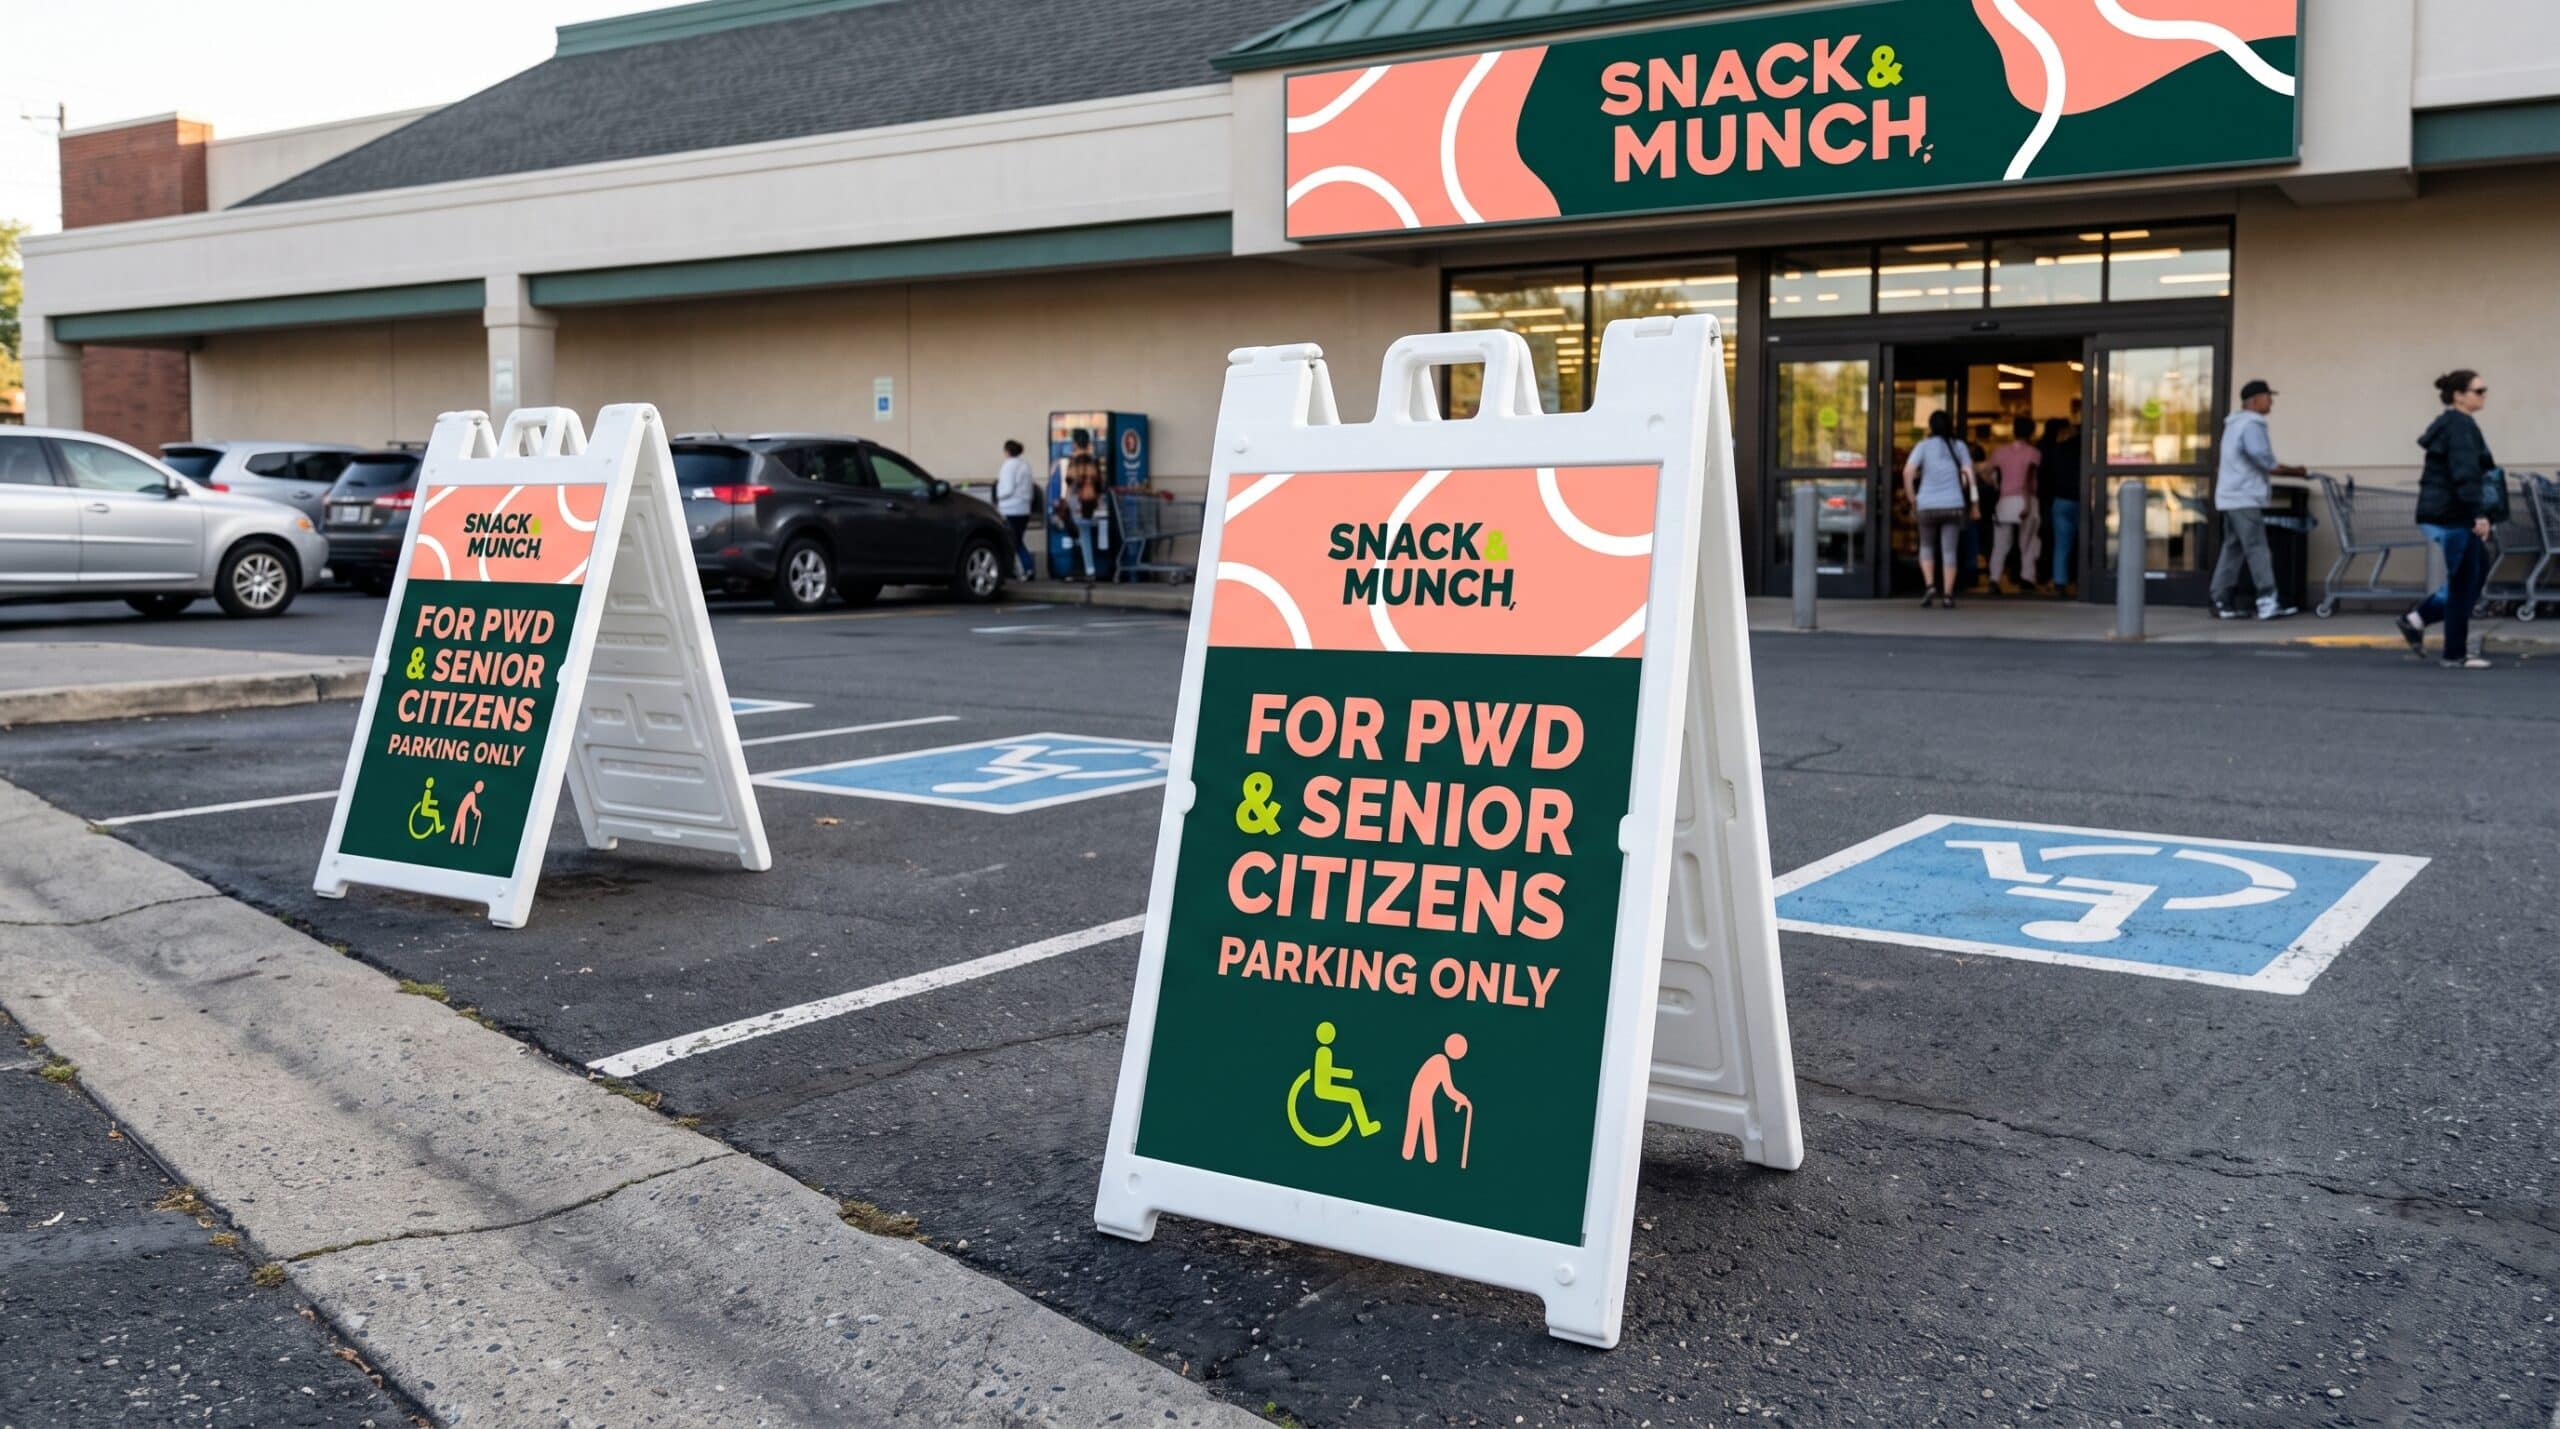
Outdoor A-frame signs are commonly used as temporary signage for reserved parking, VIP spaces, traffic changes, and retail promotions.
- Pick a spot for the sign. Set the A-frame near storefronts, entrances, reserved spaces, pickup zones, or anywhere drivers need parking details.
- Make sure drivers can see the sign. Point it toward oncoming cars and keep it easy to spot from the driver’s seat, but don’t block moving traffic.
- Keep the A-frame steady. Place it on a flat surface and add weights if needed to keep it stable outside.
- Remove the sign after use. Since A-frames are for temporary use, remove them from the parking area and store them when you no longer need them.
Other Things to Consider When Installing Parking Signs

You can create an effective parking signage system with careful planning and well-coordinated signs. However, choosing the right fixtures and installation spots is only one part of the process. It’s important to keep these tips in mind to ensure your signs meet regulations, last longer, provide clear information, and fit your property.
1. Permissions and Regulations
Before you put up Parking Signs, make sure to review local laws, permit rules, accessibility standards, and safety guidelines. These requirements often apply even on private property, especially for signs that manage traffic, parking, or security.
2. Weather Resistance
Choose outdoor-ready signage materials and fixtures that handle expected weather conditions, such as mesh banners for windy areas. Also, remember to remove or store temporary signs during severe weather to extend their lifespan.
3. Message and Information
Include only the instructions, directions, rules, or promotional details drivers need. Keep wording concise, use readable text, and design each message for easy access and visibility from the expected driving or viewing distance.
4. Brand Consistency
Use consistent colors, fonts, logos, and design elements throughout your parking signage. Strong branding supports promotions and helps customers recognize directional, informational, and property-specific signs as part of your business.
Organize Your Outdoor Signs for a Safe Parking Area
Your parking area is an extension of your storefront, so it should make parking and finding your store easy for clients and visitors. A good parking sign system lets you share directions, parking rules, and safety tips before customers enter. With each outdoor sign positioned and installed well, it can serve its best purpose. Combined, these signs help improve customer experience and can also support your branding and promotions. Turn to PrintPlace for customizable parking signs to support your outdoor signage.